 |
Qt is a versatile cross-platform GUI framework built on C++. Major applications that use Qt are AutoDesk Maya, VirtualBox Ubuntu's Unity interface and the KDE Software Compilation.
The Open Source version of Qt can be downloaded from https://www.qt-project.org/downloads
There are several versions of Qt for several platforms listed on the page. You can either download the latest version (5.1.1) as of this article, or the earlier versions. For Windows users who already have Microsoft Visual Studio 2008/2010/2012, it is recommended that you install the Qt version that is available for your setup.
Qt applications are best developed in the Qtcreator IDE, however you can use any C/C++ IDE of your choice provided it has plug-ins for Qt. IDEs that support Qt are Eclipse, Netbeans and Visual Studio 2008/2010/2012 Professional editions |
, VS Express edition does not have the Qt plug-in. However Qt applications can be built and run using the compiler provided by the express edition.
Creating your first Qt Application
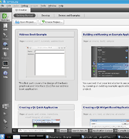
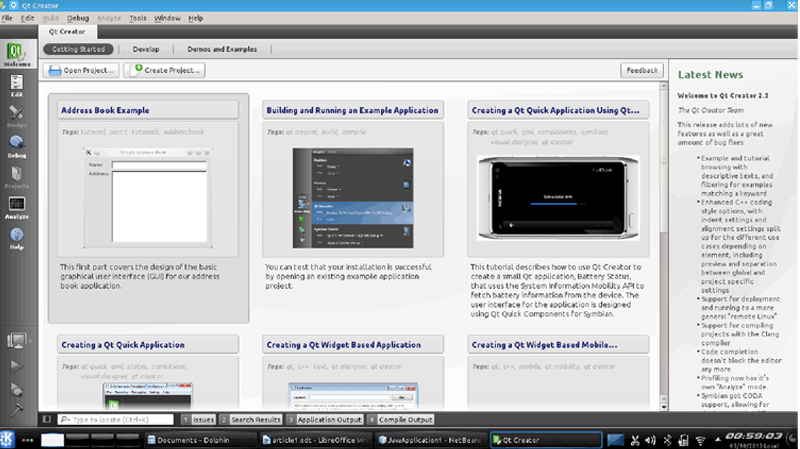
To Start with we launch the Qt Creator IDE. It's welcome page looks something like this-
Then we create a new project by going to File->New and selecting Qt Widget project and Qt GUI application from the resulting dialog.
After that a wizard pops up that guides you through the steps of naming your project and configuring it's build target. In the details step, select QDialog as the base class.
Once the wizard finishes you will be greeted by the IDE's main interface that looks like this-
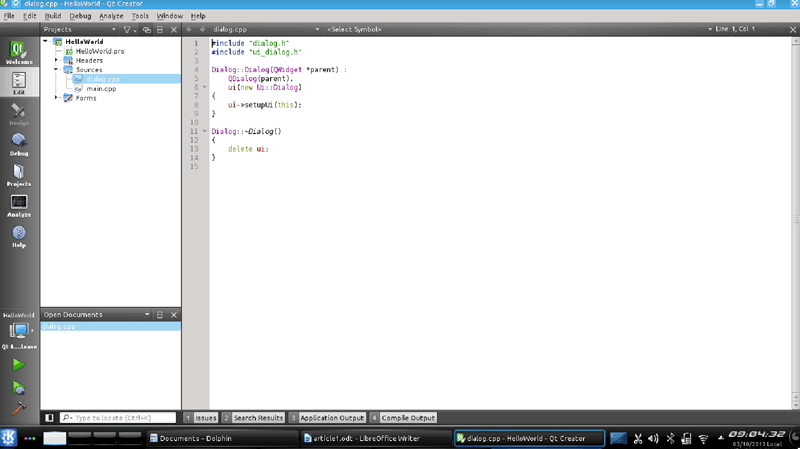
This is the Edit view of the IDE where you can view and edit the project's code. By default Qt applications have 5 main files- A project (.pro) file that holds your projects configuration information, a header file (.h) for every Qt form class definition a source file (.cpp) where your class is implemented, a main.cpp for the main function and designer files (.ui) for designing the Gui elements on the form.
The forms are designed in the design view that looks like this-
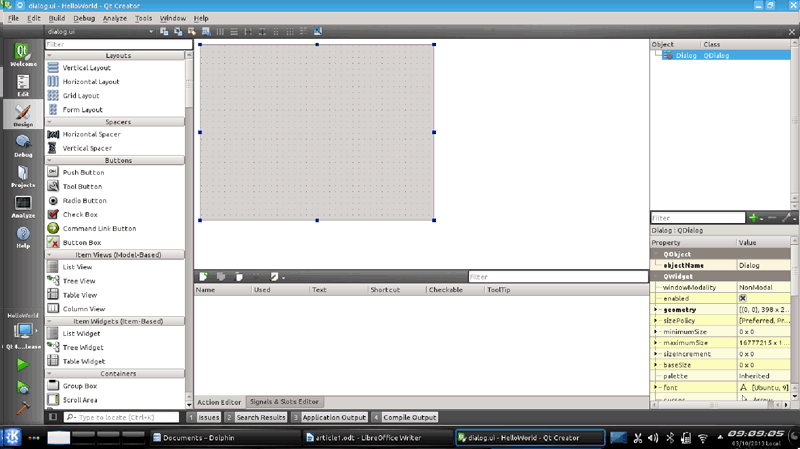
This view should already be familiar to Visual Studio developers and it has the same layout and tools.
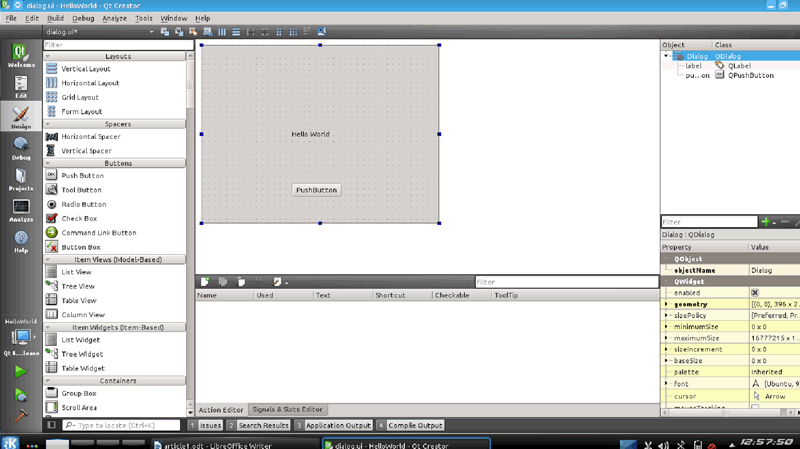
In this example we will make a simple Hello World application using a dialog a push button and a label.
In your design view add a label from the tool box onto your dialog form like this-
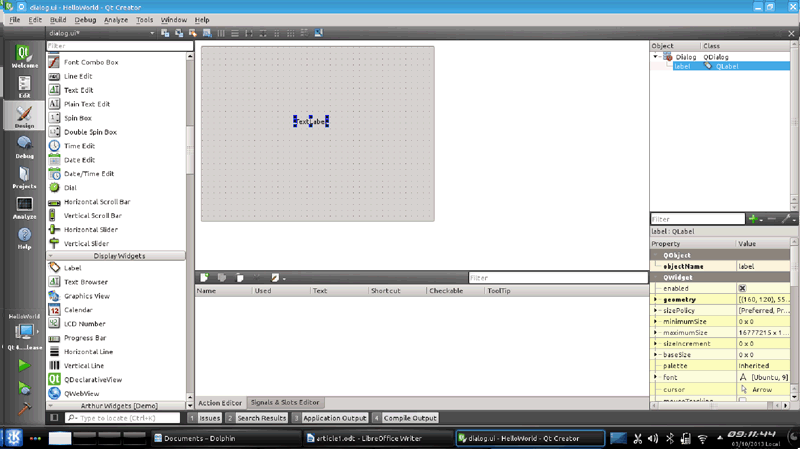
To change the label's text double click on the label or change it in the properties pane on the lower right.
Then we add a push button to the Dialog in the same way
Now we right-click on the push button and select the option "go to slot..." and select clicked() from the option list-
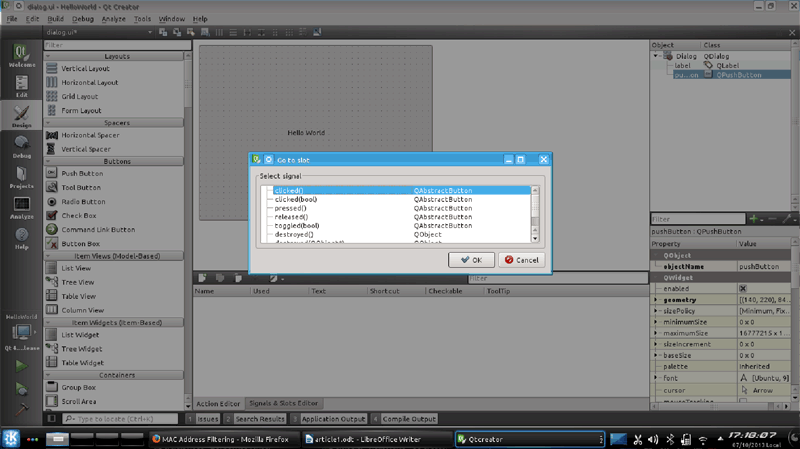
After clicking on OK we are dropped back into edit mode and a new function definition block has been created-
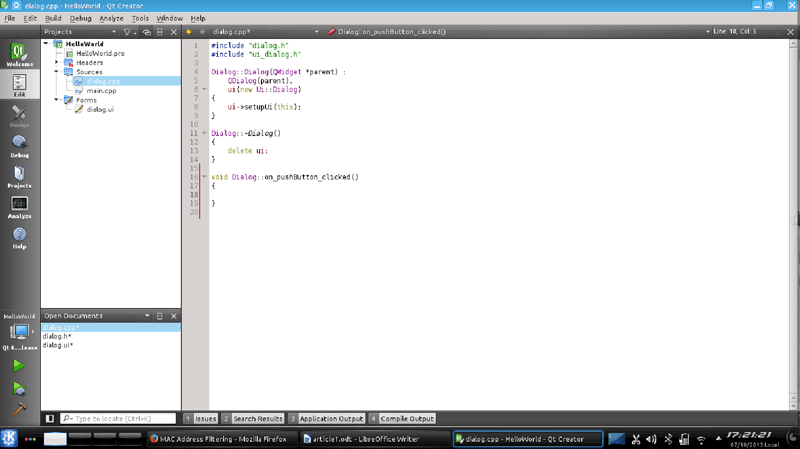
In this new on_PushButton_clicked() function we add the following code:
this->close();
This code closes the dialog box.
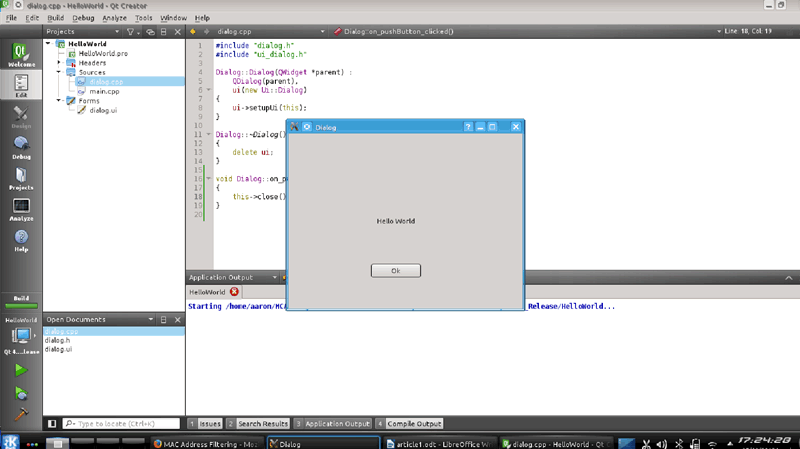
Thats It! Now we can build and run the project. To run the project click on the orange triangle at the lower left portion of the screen. If you want to only compile the project and not run it click the hammer button. Once the project is run, it will look like this-
|
|